Blog and Tutorials
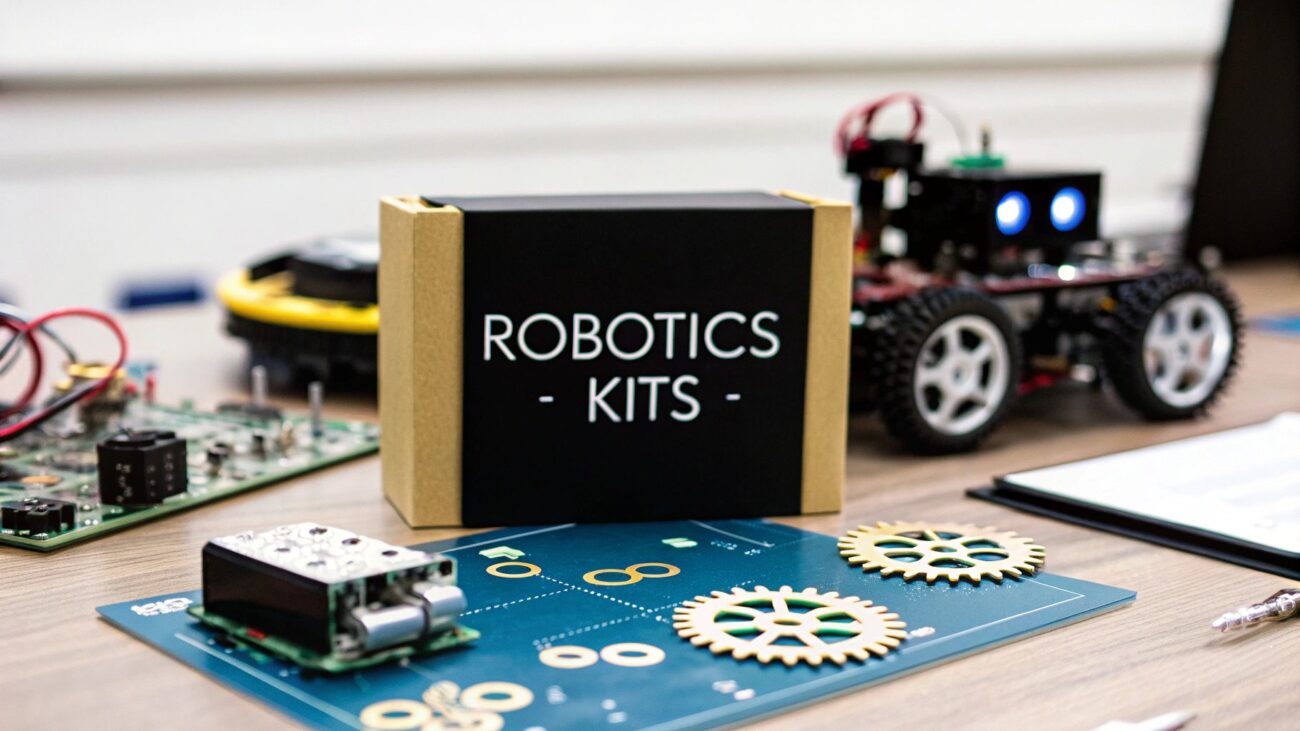
How to Build Robots: Essential Beginners Guide

Building robots may initially seem intimidating, but with a solid understanding of the fundamentals and a structured approach, anyone can learn how to build robots and begin their robotics journey. Like any complex skill, mastering robotics involves breaking the process into manageable steps. It all starts with understanding the core components and how they interact.
Table of Contents
Understanding the Basics of Robot Construction
Building robots is akin to assembling a complex puzzle. Each piece has a critical function, and understanding these functions is paramount. Sensors, for example, serve as the robot’s senses, allowing it to perceive its environment. These sensors can range from light sensors, detecting brightness levels, to ultrasonic sensors, which measure distance.
This sensory data is then transmitted to the controller, the robot’s brain. The controller processes the information and makes decisions. For instance, a robot might use sensor data to navigate a maze or avoid obstacles.
Moreover, actuators, like motors and servos, convert the controller’s decisions into physical actions. This enables the robot to move and interact with its surroundings. Much like how our muscles respond to signals from our brains, actuators bring the robot’s intentions to life.
Choosing the Right Robot Type for Your Skill Level
Starting in robotics means selecting a project aligned with your current abilities. A simple, two-wheeled robot is an excellent entry point. This type of robot allows you to learn fundamental concepts such as motor control and basic programming without being overwhelmed by complex mechanics.
You can also explore pre-assembled robotics kits, which provide all the necessary components and step-by-step instructions. This simplifies the building process and lets you concentrate on learning the core principles. This allows beginners to gain valuable experience before tackling more challenging robot designs.
As your skills develop, you can move on to more complex builds, like humanoid robots or intricate robotic arms. The key is to gradually increase the complexity, ensuring each project builds on the knowledge and skills gained from previous projects.
Building Your Robotics Foundation
A strong foundation in robotics involves more than simply assembling components. It involves cultivating a deep understanding of how those components work together. This understanding allows you to troubleshoot problems effectively, design your robots, and potentially contribute to the exciting field of robotics in the future.
Assembling Your Robotics Toolkit
Building robots takes more than just passion; it requires the right tools and components. Smartly sourcing these items can significantly impact your project’s success. This section guides you in assembling a practical and affordable robotics toolkit.
Essential Tools for Robot Building
Like any skilled craftsperson, a robot builder needs essential tools. These enable component manipulation and connection creation and, ultimately, bring your robot to life.
- Soldering Iron and Solder: These are crucial for creating permanent electrical connections. A temperature-controlled soldering iron offers greater precision.
Wire Strippers/Cutters: Prepare wires for soldering, ensuring clean and reliable circuits. Precise stripping is essential for solid connections
- Screwdrivers and Wrenches: These are essential for assembling the robot’s frame and attaching components. Invest in a variety of sizes to accommodate different screw and bolt types.
Multimeter: This diagnostic tool measures voltage, current, and resistance, allowing you to troubleshoot electrical issues. A multimeter is invaluable for identifying faulty components or wiring errors.
Breadboard and Jumper Wires: These provide a temporary platform for prototyping circuits before making permanent connections. This allows for experimentation and flexibility in your designs.
Sourcing Components: Kits vs. Individual Parts
Choosing between kits and individual components depends on your learning style and budget. Robotics kits, such as those from DIYgh Tech Hub, offer a curated set of components and instructions—perfect for beginners. They offer a structured learning experience and simplify the initial building stages.
As your skills grow, sourcing individual components allows greater design flexibility. This empowers you to explore more diverse components and customize your creations. DIYgh Tech Hub can be a valuable resource for affordable parts.
Creating an Efficient Workspace
An organized workspace is fundamental for successful robot building. A dedicated area with good lighting, ample space, and organized storage promotes focus and minimizes frustration. This dedicated space also simplifies testing and troubleshooting.
Use organizers or toolboxes to keep tools and small components neatly arranged. This saves time and prevents the loss of vital items. A well-organized space contributes to a more enjoyable building process.
Comparing Key Components
Selecting components requires understanding their features, costs, and suitability for your project. The following table compares essential components, helping you make informed decisions. It highlights the cost ranges, key features, difficulty levels, and ideal use cases for each component.
To help you make informed choices when building your robot, we’ve compiled a comparison of essential components. The table below outlines the key features, cost considerations, difficulty levels, and best use cases for each part.
Essential Robot Building Components Comparison
| Component | Cost Range | Features | Difficulty Level | Best For |
|---|---|---|---|---|
| Microcontroller | $5 – $50 | Processes sensor data, controls actuators | Beginner – Advanced | Core processing |
| Sensors | $2 – $30 | Detects environmental conditions | Beginner – Advanced | Input data |
| Actuators | $5 – $100 | Creates movement and interaction | Beginner – Advanced | Output actions |
| Batteries | $5 – $50 | Provides power to the robot | Beginner | Power source |
This comparison highlights the importance of choosing appropriate components based on your project’s requirements and your skill level. Understanding these distinctions allows for a more streamlined and effective building process.
By understanding these core components and having a well-equipped workspace, you’re ready to embrace the challenges of robot building. This preparation sets the foundation for a rewarding and successful robotics experience.
Designing Your Robot With Purpose
Great robots aren’t born overnight. They’re the result of meticulous planning and thoughtful design, a process that begins long before any physical components are assembled. This section explores this crucial design phase, showing how successful robot builders avoid costly mistakes and time-consuming rework. We’ll delve into practical methods for defining your robot’s core purpose, understanding its potential, and acknowledging its limitations—all before you pick up a single tool.
Defining the Purpose and Functionality
The first step in any robotics project is defining its purpose. What specific task or problem will your robot solve? A robot designed for navigating a maze requires a different skillset than one built for sorting objects. Clearly outlining your robot’s objective informs every design decision that follows. For instance, a search and rescue robot prioritizes robust mobility and advanced sensor integration, while a robotic arm in a manufacturing setting emphasizes precision and repeatability.
Sketching and Conceptualization
Once you have a clear objective, the next step is translating your vision into a tangible design. Sketching is a powerful tool for exploring different concepts and visualizing the final form of your robot. Even simple diagrams can be immensely helpful, serving as blueprints for your project and guiding you through the assembly process.
Consider the robot’s operating environment. Will it be indoors or outdoors? Will it navigate smooth surfaces or uneven terrain? These factors influence your choice of materials, locomotion system, and sensor requirements. Such foresight can prevent significant design revisions later.
Furthermore, user interaction should be a key consideration, even for seemingly simple designs. In the field of social and humanoid robots, researchers like Matteo Ronchi are focused on improving human perception and pose estimation. Ronchi’s research aims to develop robots that move more like humans, enhancing their interaction capabilities and promoting a more natural, friendly perception.
Creating Actionable Build Plans and Parts Lists
Transforming your conceptual sketches into detailed build plans is the next crucial step. These plans should include precise measurements, component placements, and clear assembly instructions. A well-structured building plan minimizes errors during construction and streamlines the entire process.
Finally, create a comprehensive parts list. This list should detail every component, from motors and sensors to the smallest screws and wires. Sourcing components from reliable suppliers like DIYgh Tech Hub ensures quality and compatibility.
A detailed parts list allows you to estimate project costs accurately and avoid delays caused by missing components. This proactive planning significantly contributes to a successful robot build.
Bringing Your Robot to Life: The Build Process
Building a robot is an exciting process where design transforms into reality. A structured approach, similar to methods used by experienced roboticists, is key to a successful build. This involves understanding techniques for assembling the frame, mounting components, and establishing reliable electrical connections. These are valuable skills for any robotics project.
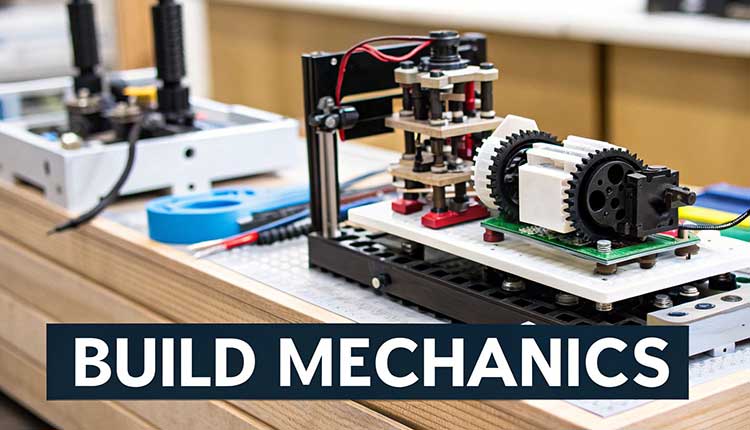
Frame Assembly: The Robot’s Skeleton
The frame is the robot’s structural foundation, analogous to a skeleton. It supports all other components and dictates the robot’s overall shape and size. The choice of materials and construction techniques depends heavily on the robot’s intended function.
Let’s take a closer look at the key considerations for frame assembly.
Choosing the Right Materials
Common frame materials include aluminum extrusion, acrylic, and even wood. Factor in the robot’s weight, required strength, and ease of fabrication when selecting a material. A lightweight robot built for speed might utilize carbon fiber or plastic, while a heavy-duty industrial robot demands a robust metal frame.
Fastening Techniques
Securely joining frame components is critical for overall stability. This typically involves using screws, bolts, rivets, or adhesives, depending on the chosen materials. Precise measurements and careful alignment are essential for a strong, functional frame.
Component Mounting: Positioning for Success
With the frame assembled, the next crucial step is correctly mounting the components. This ensures proper positioning for functionality and accessibility.
Strategic Placement
Consider each component’s function when determining its location. Sensors, for instance, should be placed where they can effectively gather environmental data. Motors need secure mounting in the correct orientation to drive the robot’s movement.
Secure Attachment
Use appropriate fasteners, brackets, and adhesives to firmly attach components to the frame. Ensure components remain fixed during operation to prevent malfunctions or damage.
Electrical Connections: Powering the Robot
The electrical system is the robot’s lifeblood, connecting the power source to the controller and all other electronic components. Meticulous wiring and secure connections are paramount for reliable operation.
Soldering Essentials
Soldering is a fundamental skill for creating strong, permanent electrical connections. Practicing proper techniques is crucial to avoid cold solder joints or component damage.
Wiring Management
Organize wiring neatly and securely to prevent shorts or interference. Utilize wire ties, labels, and color-coding for easy identification and troubleshooting. Well-managed wiring contributes to a professional-looking robot.
Power Distribution
Efficiently distribute power from the battery or power supply to all components. Use appropriate connectors and ensure wires are rated for the intended current.
The construction industry increasingly relies on robotic solutions for automation. In 2024, the global construction robots market was valued at USD 1.37 billion, projected to grow at a CAGR of 18.0% from 2025 to 2030. This growth reflects the increasing demand for automation to reduce labor costs, enhance safety, and expedite project completion. Learn more about construction robotics.
Quality Control: Ensuring a Robust Build
Experienced robot builders integrate quality control checks throughout the construction process. This proactive approach helps identify and resolve potential issues early.
Regular Testing
Test each component and connection during the build to verify proper function. This prevents the accumulation of errors that become difficult to diagnose later.
Visual Inspection
Regularly inspect the robot for loose wires, misaligned components, or other potential problems. Careful visual inspection can prevent significant setbacks.
Documentation
Maintain thorough documentation of the build process, including diagrams, parts lists, and wiring schematics. This documentation becomes an invaluable resource for troubleshooting and future modifications.
The following table provides a helpful timeline and checklist for various robot-building projects. It outlines the different stages, tasks, estimated time, required tools, and potential issues to anticipate.
Robot Building Timeline and Checklist
| Building Stage | Tasks | Estimated Time | Tools Required | Common Issues |
|---|---|---|---|---|
| Design | Planning, sketching, CAD modeling | 20-40 hours | CAD software (Autodesk Fusion 360), sketching tools | Unrealistic design, lack of functionality |
| Frame Assembly | Cutting, drilling, fastening frame components | 5-10 hours | Saw, drill, screwdriver, fasteners | Misaligned parts, weak joints |
| Component Mounting | Attaching motors, sensors, controllers | 5-10 hours | Screwdriver, wrenches, adhesives | Loose components, incorrect placement |
| Electrical Connections | Soldering, wiring, connecting components | 10-20 hours | Soldering iron, wire strippers, multimeter | Short circuits, loose connections |
| Programming | Writing and uploading code | 20-40 hours | Programming software (Arduino IDE), computer | Software bugs, communication errors |
| Testing & Debugging | Identifying and fixing errors | 10-20 hours | Multimeter, debugging tools | Unexpected behavior, sensor malfunctions |
This table offers a general guideline, and actual times and tools may vary depending on project complexity. Refer to specific project instructions for more detailed guidance.
By following these steps and incorporating quality control measures, you can successfully transform your robot design into a functional and robust creation. This structured approach sets a strong foundation for overcoming the challenges of robot building.
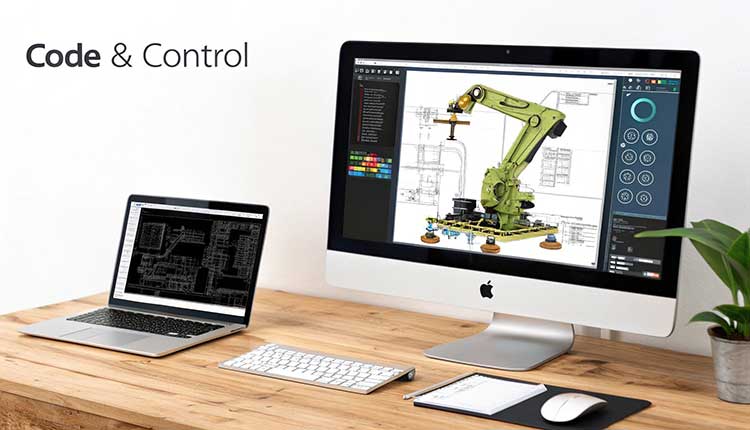
Programming Your Robot Without the Headaches
Building a robot is more than just assembling parts; it’s about bringing your creation to life with programming. This can feel intimidating, especially for beginners. But even without coding experience, you can effectively program your robot using accessible platforms and a structured approach.
Beginner-Friendly Programming Platforms
Several platforms cater to novice robot programmers. Arduino IDE, for example, provides a simplified coding environment with numerous libraries and examples. It’s ideal for controlling basic movements, reading sensor data, and implementing simple autonomous behaviors. Arduino simplifies the process, making it easier to get started.
Another excellent choice is Blockly, a visual programming language. Its drag-and-drop interface makes coding accessible, even for children, allowing them to learn fundamental concepts without getting stuck on syntax. Blockly also generates code in languages like Python or JavaScript, which is usable in more advanced projects later.
Imagine programming your robot to move forward. In Blockly, you simply drag and drop a “move forward” block. This translates to actual code behind the scenes, streamlining the learning curve.
Implementing Basic Robot Behaviors
Programming a robot involves breaking down complex actions into smaller, manageable steps. Think of it as a recipe: each step contributes to the final dish. Start with basic movement commands—forward, backward, left, and right—forming the base for more complex maneuvers.
Next, incorporate sensor data. Program your robot to stop when its ultrasonic sensor detects an obstacle. This introduces dynamic interaction with its environment. You could also program line following using light sensors, introducing the concept of feedback control.
The IEEE Robotics & Automation Society advances robotics and automation technologies. This involves promoting science and technology, fostering interdisciplinary cooperation, and developing industry standards. Their publications, like the IEEE Robotics & Automation Magazine, feature cutting-edge research, discussing topics from multirobot systems to haptic interactions. Explore this topic further.
Testing and Troubleshooting Your Code
Testing is crucial in robotics programming. It verifies that your code functions as intended and identifies any bugs. Begin with simple tests, like confirming your robot moves correctly. Increase test complexity as you add new behaviors.
Systematic troubleshooting is essential when you encounter problems. Isolate the issue: hardware or software? If it’s software, use debugging techniques like stepping through the code to find the error source. Strong troubleshooting skills save time and frustration. For complex projects, use simulation tools to test your code virtually before deploying it on your physical robot. This can help identify potential problems early.
Building More Sophisticated Behaviors
Once you’ve mastered basic movement and sensor integration, explore complex behaviors:
- Object Avoidance: Autonomous navigation around obstacles.
- Maze Solving: Algorithms enabling maze navigation.
- Line Following: Following a line on the floor.
Break these down into smaller steps. Object avoidance, for example, becomes sensing an obstacle, stopping, turning, and continuing. By gradually increasing program complexity, you’ll build a solid foundation in robotics programming. DIYgh Tech Hub offers resources, including kits and tutorials, to support your journey. These resources can be invaluable for building, programming, and troubleshooting.
Mastering Troubleshooting and Growing Your Skills
Building robots, even simple ones, presents unique challenges. The key differentiator between successful robot builders and those who abandon their projects often lies in their troubleshooting approach. This section explores practical methods for diagnosing and resolving common problems encountered during robot construction.
Systematic Troubleshooting Techniques
Troubleshooting in robotics requires a structured, systematic approach, similar to diagnosing a car issue. Experienced builders employ a defined process to efficiently isolate problems, examining both hardware and software elements.
Start with the Obvious: Before delving into complex diagnostics, check power connections, loose wires, and the placement of components. Often, the simplest solutions are the most effective. This initial assessment can save valuable time.
Isolate the Problem: Test individual components methodically to identify the source of the issue. Think of it as checking fuses in a house to isolate the problematic circuit. This process significantly narrows down the search area.
Divide and Conquer: Deconstruct complex systems into smaller, manageable sections to pinpoint the root cause. If a robot arm malfunctions, test the motor, controller, and connections separately to determine the faulty part.
Diagnostic Tools and Methodologies
Several tools and techniques aid in the troubleshooting process:
Multimeter: A multimeter is invaluable for measuring voltage, current, and resistance, ensuring electrical components function correctly. It helps identify shorts or open circuits.
Visual Inspection: Carefully examine the robot for loose connections, damaged parts, or anything amiss. A thorough visual inspection can often quickly reveal the problem.
Software Debugging: Use debugging tools within your programming environment to step through code line by line, identifying software bugs. This detailed analysis is crucial for complex programs.
Troubleshooting is a valuable learning experience. Every problem solved strengthens your understanding of robot construction, boosting confidence and expertise.
Advancing Your Robotics Skills: A Roadmap
Developing robotics skills requires a long-term commitment. It’s a continuous journey, not a destination. Here’s a roadmap to accelerate your progress:
Project Progression: Begin with simple projects and gradually increase complexity. Start with a basic wheeled robot, then advance to a robotic arm or a more intricate mobile robot.
Learning Resources: Utilize online tutorials, forums, and communities like the DIYgh Tech Hub. These platforms offer essential knowledge, support, and inspiration.
Community Connections: Engage with fellow robot enthusiasts. Sharing experiences and challenges accelerates learning and introduces new perspectives. The collaborative nature of the robotics community is a significant asset.
Join the robotics community at DIYgh Tech Hub for access to a wealth of resources, kits, and expert guidance to transform your robotics passion into tangible creations. Whether you’re a beginner or an experienced maker, DIYgh Tech Hub empowers you to explore the fascinating world of robotics and achieve your building aspirations. Begin your journey today.